With Get Paid, you can create and customize branded invoices that reflect your company's identity. When you upload your company logo to your Get Paid account, the logo will appear at the top of every new invoice you issue. To learn how to upload your company logo, follow the steps below.
1- In your Melio dashboard, select the Settings icon (⚙️) at the bottom of the far-left sidebar.
2- Once the Settings menu expands, find and select Company settings from the settings sidebar menu that appears.
3- In the main content area on the right, scroll down to the Company logo section.
4- To upload a new logo, select the Edit button.
5- Select the add image icon ()to begin your upload.
6- Select a logo from your device and complete the upload process.
You can upload PDF, JPEG, JPG, and PNG files up to 10MB.
7- Your logo has now been added to your account and will appear beside your company name at the top of the dashboard.

8- The logo will also appear at the top of every new invoice you issue.
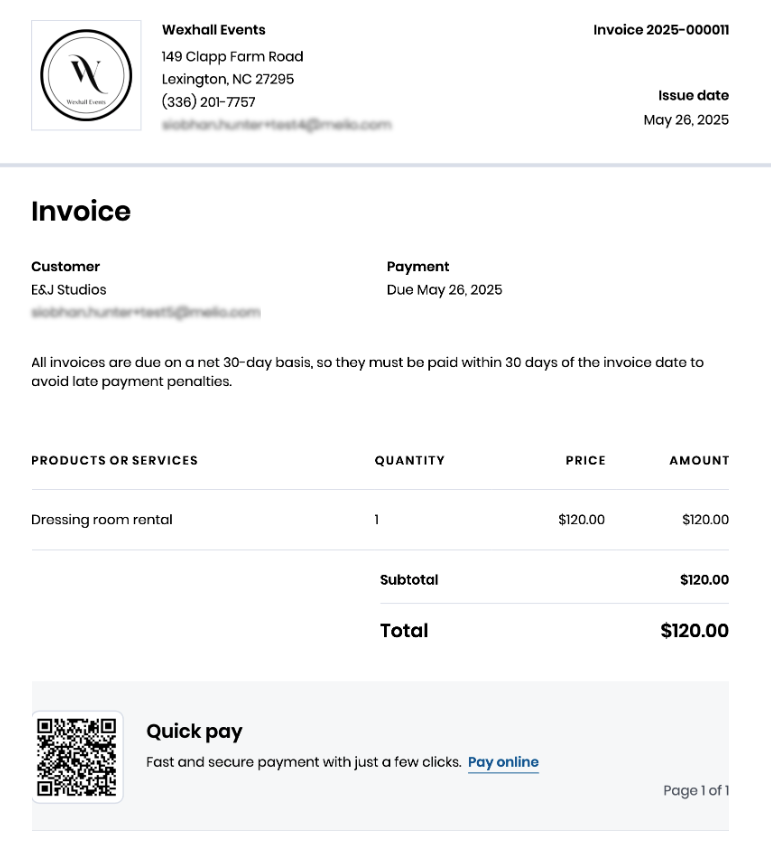
That's it! Your company logo has now been uploaded to your account and will appear on your invoices moving forward.
Please Note 💡
To remove the logo, select the Edit button and then Delete photo.